

DIY Clay Earrings No. 1

Materials:
Tape
Wax Paper
X-acto Knife
Baking Sheet
Needle nose pliers
Earring Wires (I like to buy these ones)
1/16 drill bit or toothpicks (you can drill the hole after baking or poke the hole with the toothpick before baking)
Jump Rings (7mm)
Instructions:

1. Tape wax paper to surface

2. Ball up two evenly sizes pieces of clay then flatten them into matching circles.

3. Take a small piece of your second color of clay, roll it into a small cylinder and cut small circles at the end using your X-acto knife. Place the small circles around the perimeter of your large circles.

4. Use the body of your X-acto knife or a roller to flatten your earrings until the surface is smooth.
5. If you don’t have a little drill bit, follow the instructions below to form your holes using a toothpick. If you did pick up a teeny 1/16 drill, skip to step 6.
Take your toothpick, poke it near the top (but not too close to the edge or it’ll break, but not too far from the edge or the jump ring won’t fit). Poke it right before it breaks through the other side, then pull it out and poke it through the other side to finish the hole and spin it gently. Move on to step 6.
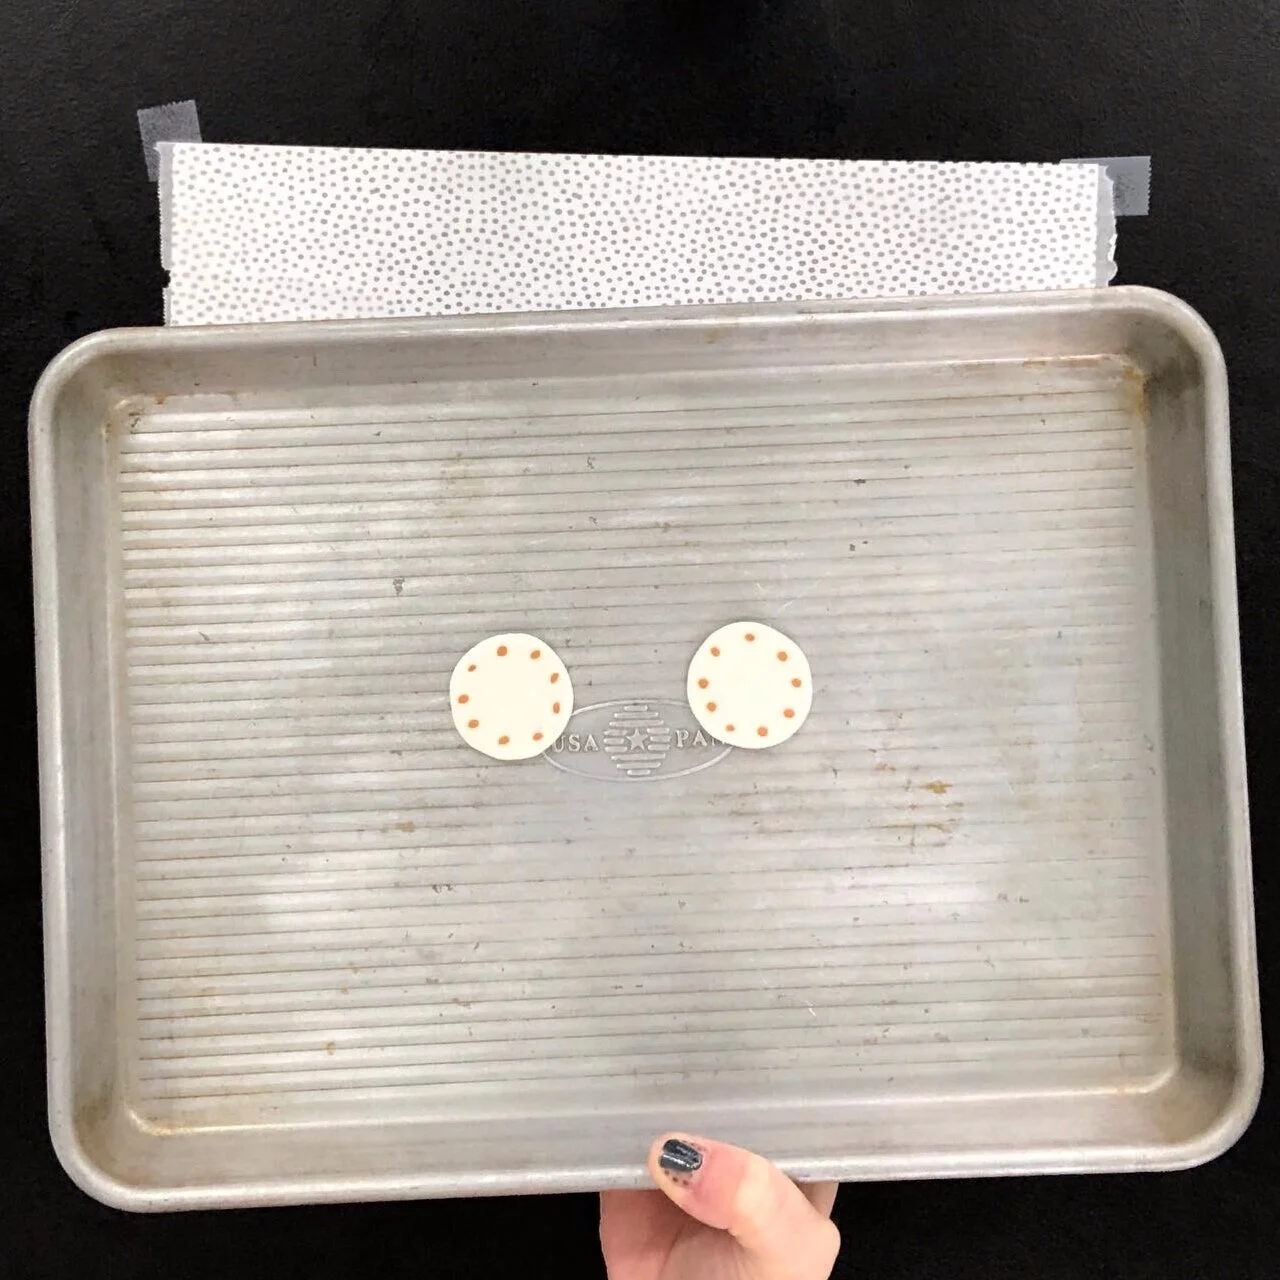
6. Place your clay circles on a baking tray and cook them at 230 degrees (110 C.) for 30 minutes (or whatever your clay package says).

7. If you’re using the drill bit, carefully drill a teeny little hole near the top. (but not too close to the edge or it’ll break, but not too far from the edge or the jump ring won’t fit)

8.Using your needle nose pliers, open a jump ring and put it through the hole you made. Most earring wires’ attachment circle is sideways, so make sure to twist the earring attachment circle 90 degrees so your earring wire sits with the hole facing forward. Add the earring wire to the jump ring, making sure the decorated side of the clay circle is facing the right way and then close the jump ring using the pliers.

Enjoy! Now you can make them for any outfit and even gift them to friends!
Pin it for later!


