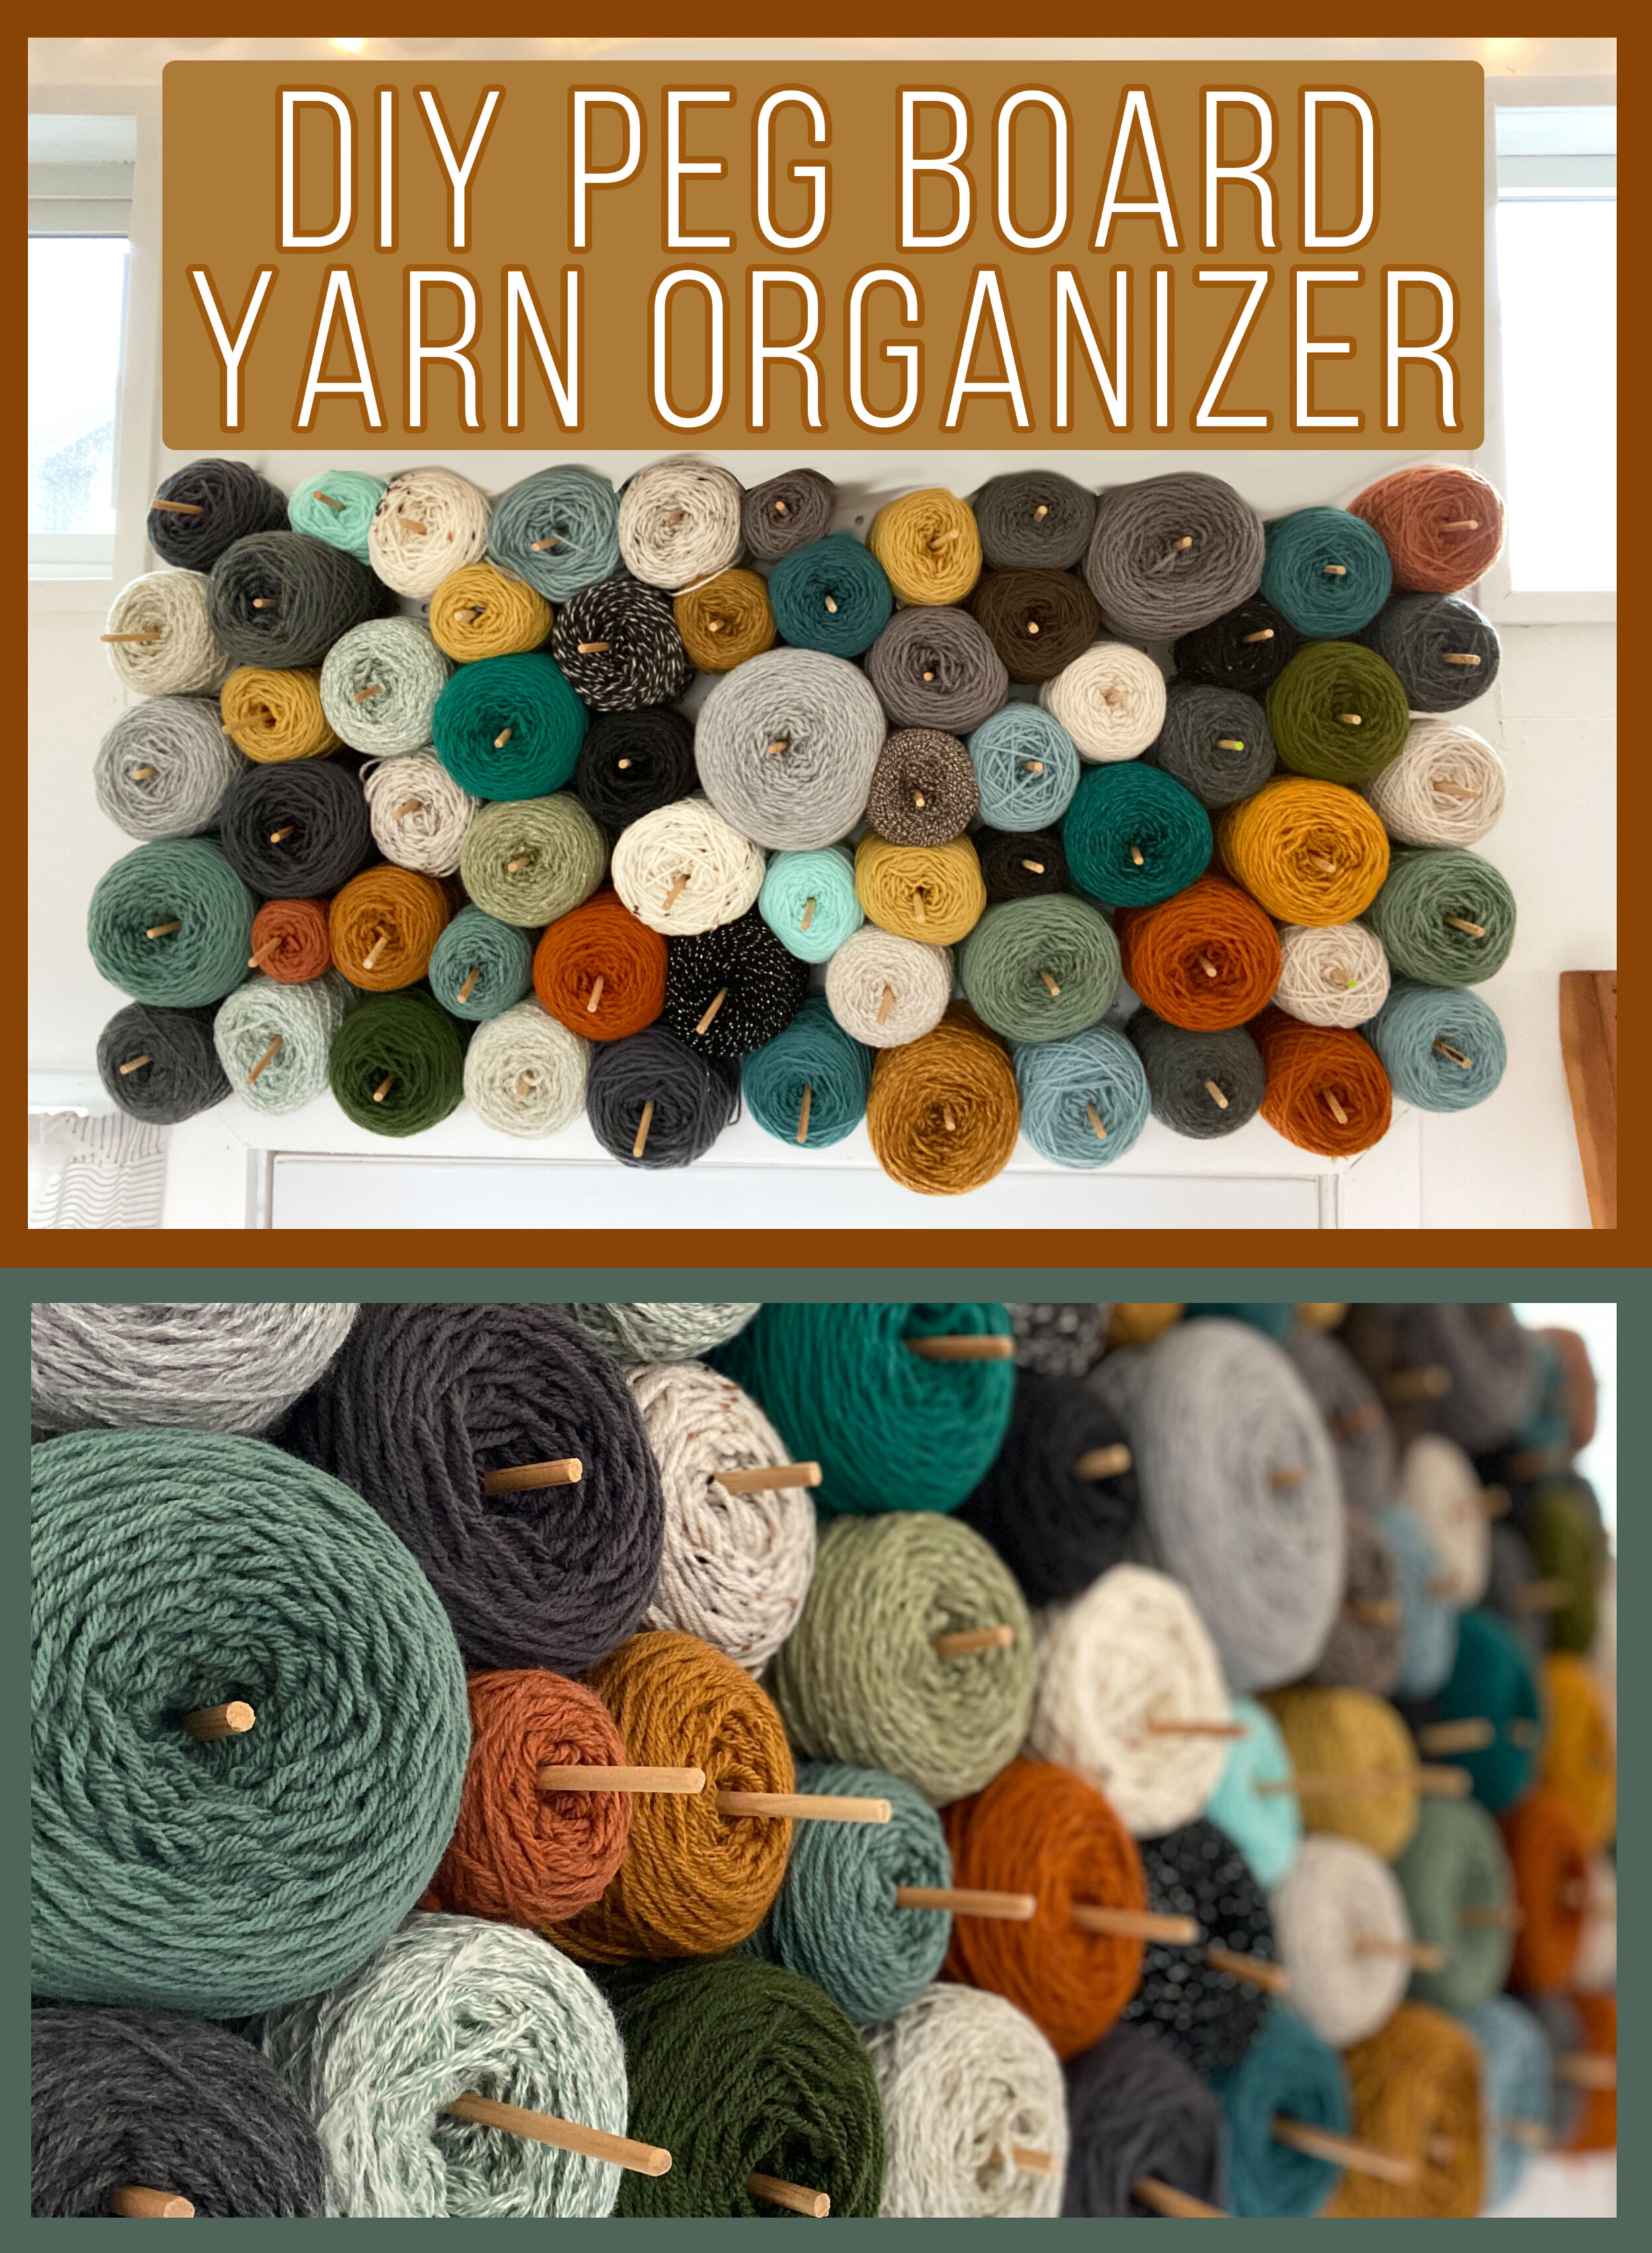
DIY Yarn Wall Peg Board Storage
Is your yarn stash an eye sore? 😩
Is it getting out of control? 😳
Are you in denial of how much yarn you really own? 🙈
Let’s fix that! Turning your yarn stash into a visually appealing, yet functional wall installation is incredibly easy, and affordable for any baller on a budget. Get it? Baller….? 🤑 🧶 💰
Materials:
Measuring Tape
Peg Board (cut to size)
4 Screws
Drill with screw driver bit
1/4” dowels, cut into 5” pegs. (My 4’ by 2’ peg board uses 80 pegs.)
Yarn ball winder (Click here to see my favorite winder of all time!) Ditch that plastic hunk of junk you’re using now and upgrade to a sturdy Stanwood winder, you won’t regret it!
Tip: If you find one that has a blemish, they’ll give you a discount! It’s going to get covered up anyway!
Instructions:
Measure the space you want to fill with a pegboard.
Buy a pegboard at a hardware store and cut it down to size. I got mine for $9 at Home Depot, and I believe they will cut it for you there as well. Buy three 1/4” dowels and cut them into 5” pegs.
Screw down each corner with a single screw to attach the pegboard to the wall. Feel free to use more screws if your pegboard is large, just know that this will result in less holes for your pegs to go into.
Wind up skeins of yarn into cakes, insert a peg into each cake and place it on your pegboard by sticking the dowel into one of the holes on your peg board. It’s best not to glue the pegs to the wall so that you can customize how close the skeins are to each other, because not all cakes are the same circumference.
Fill it up with cakes! I was able to fit over 60 FULL skeins on my wall! This is the ultimate stash buster, because you might even find yourself buying more yarn to fill it all up!
Tip: If you have a dowel that is a little loose, wrap the end of it with tape until it fits snug in the peg board.
All done! You can sort yours into color groups, but I personally find the pops of color to be inspiring.


